With over 25 years of experience Lightning Motorcycle Training is the leading provider of motorcycle training in North West London (Wembley), Berkshire (Reading), Oxfordshire (Oxford & Abingdon) and Stourbridge (Birmingham). Our team of highly qualified instructors can safely get you on the road in no time. We have our own large off-road training sites and a full range of machines – from 50cc mopeds to 650cc motorcycles.

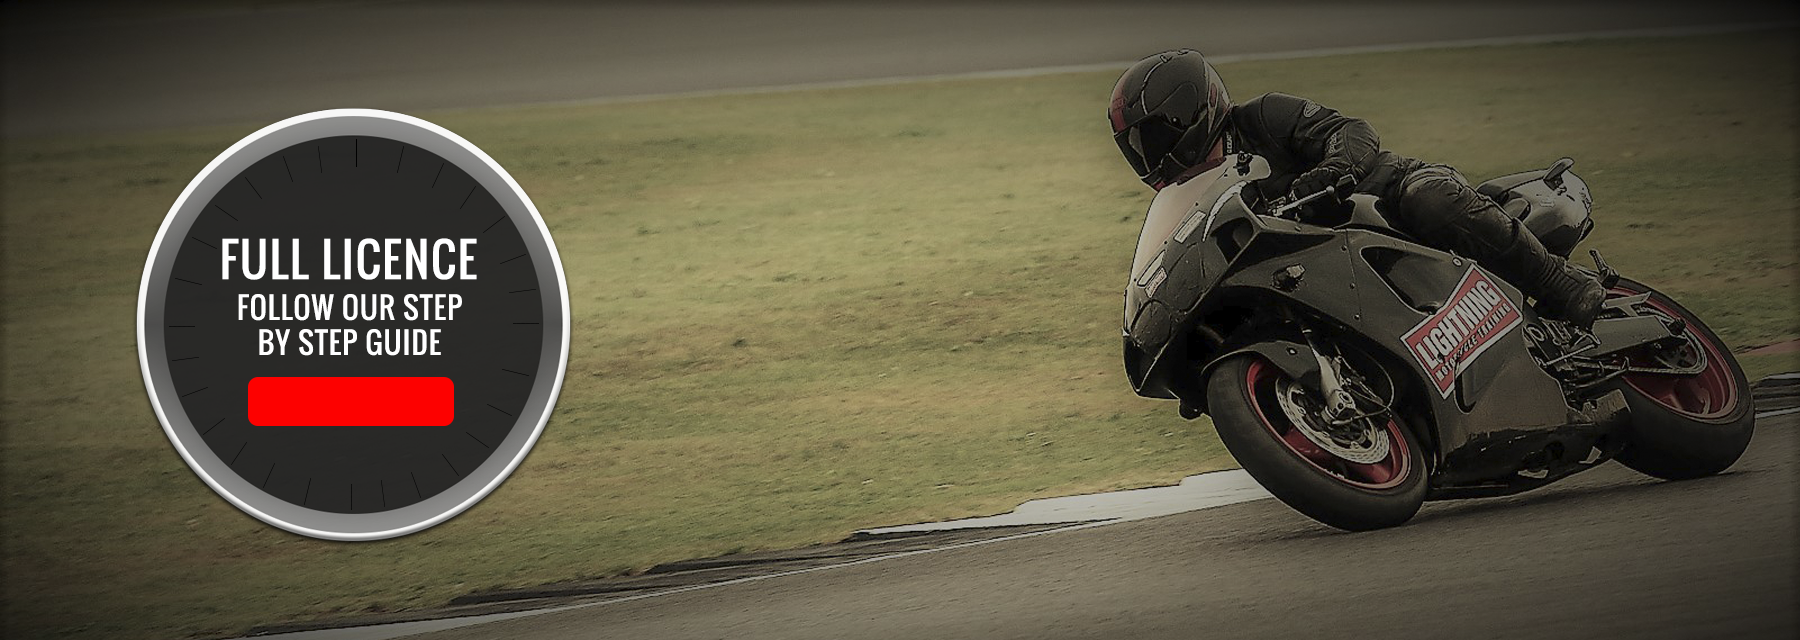
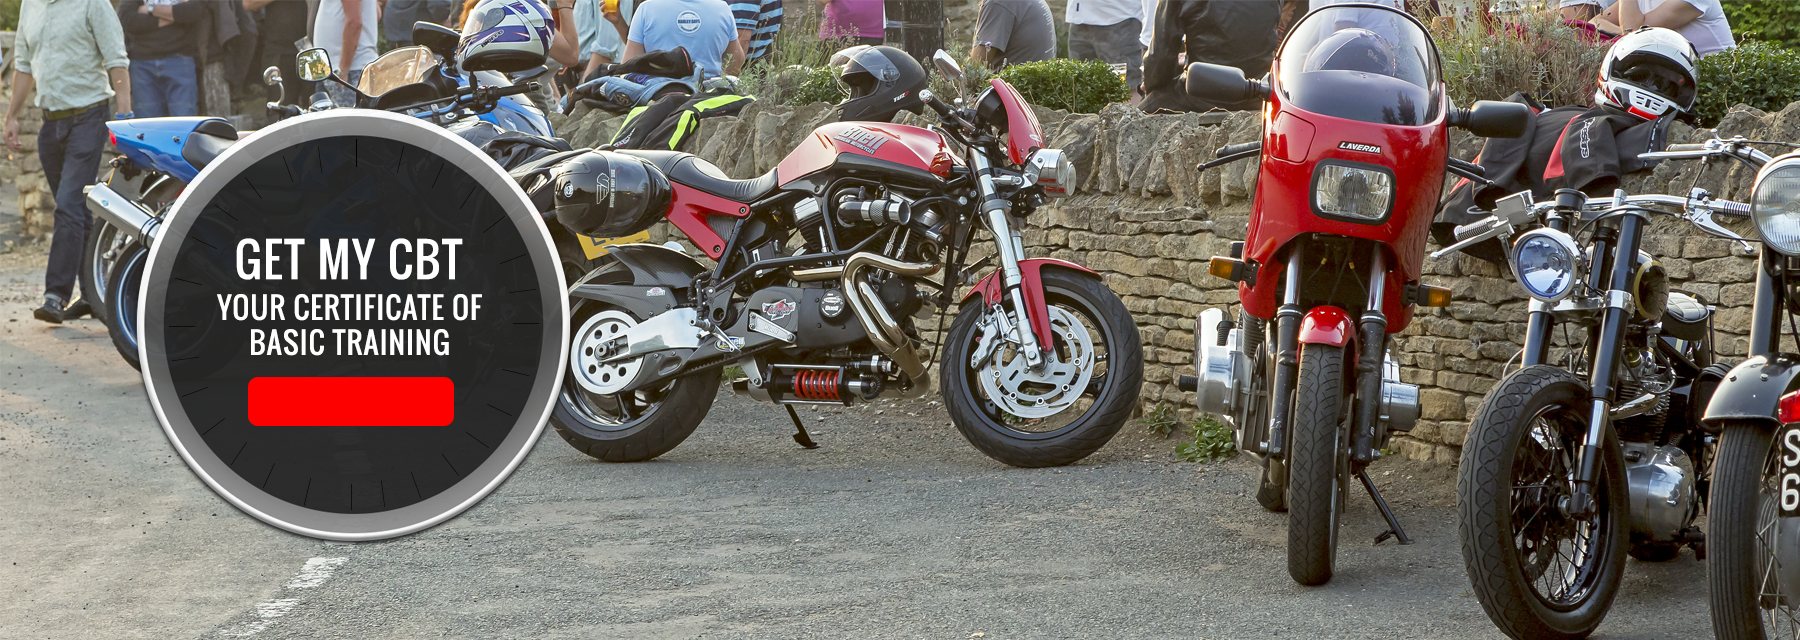
For novices there is Compulsory Basic Training (CBT) – which will allow you to ride small motorcycles on the road. For more experienced riders we offer all the different training that you might need in order to ride larger motorcycles – these include Direct Access, the Restricted A2 Licence and Post-Test Training.
There has never been a better time to buy a motorcycle, scooter or moped. From commuting to track days, there is a vast amount of choice available – literally a bike to suit everyone, whatever your budget, or the type of riding you plan to do – from beating the traffic to touring the world.
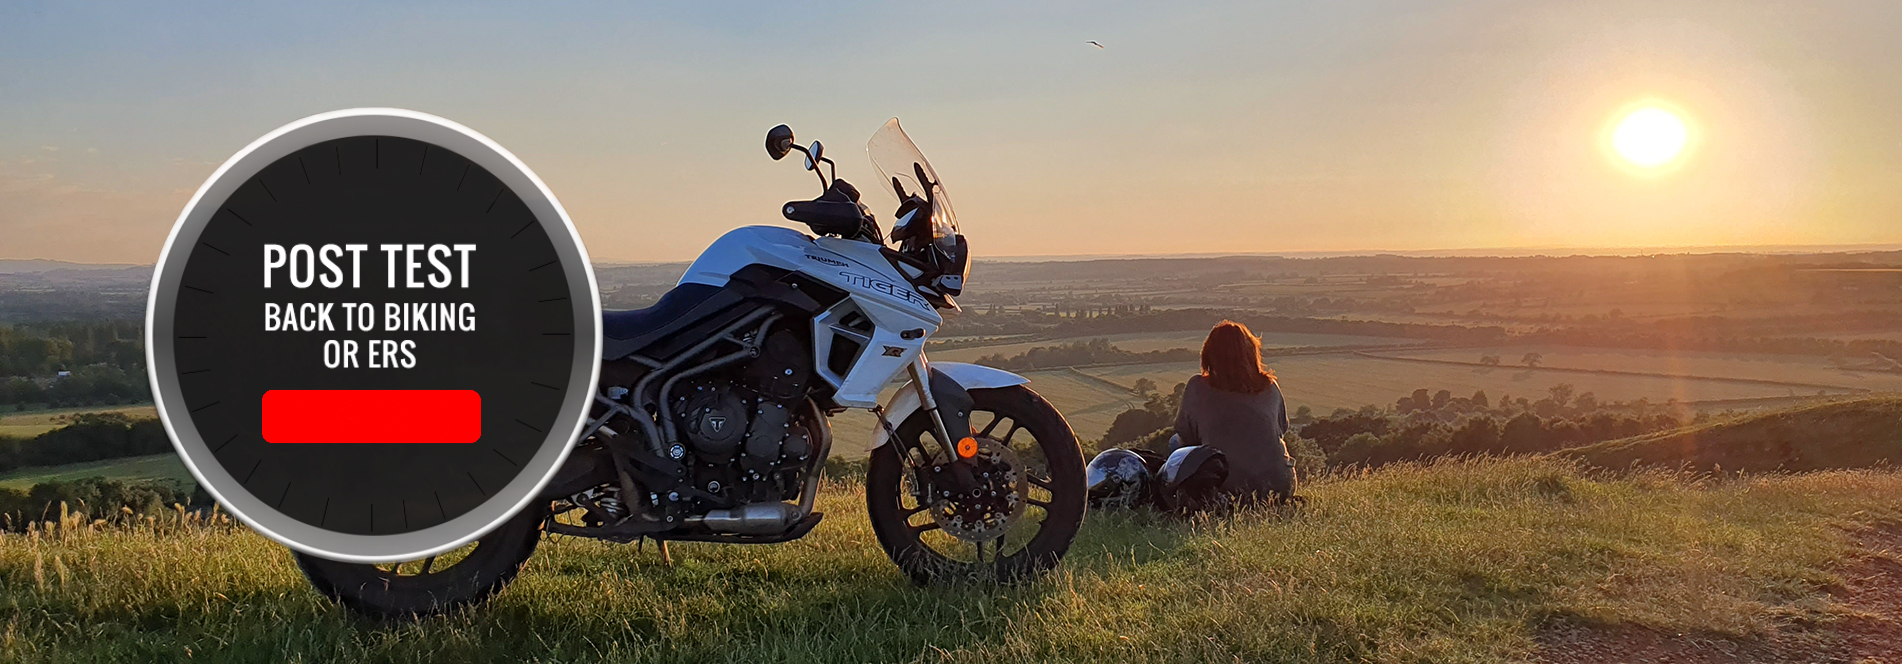
If you’re not sure whether biking is for you, why not try an Introductory Lesson (you can recover the cost if you book a course)? For more experienced riders we offer the Enhanced Rider Scheme – where you can learn advanced riding techniques to become smoother, safer and reduce your insurance costs.
With prices to suit all pockets, our courses offer exceptional value for money. Buying for someone else? Gift Vouchers are an ideal present. We also offer discounts – for example last minute bookings – please book online, or contact us for further information using our Enquiry Form.


 Oxford: 01865 777 676